4.1 Preparing To Install
Installation Procedure Overview
All hosts, in every Pod, have a Linux Ubuntu 24.04 LTS operating system installed from a bootable USB
Alongside the Ubuntu USB there is another USB named CIDATA containing 3 or 4 files depending on whether we are installing a Podnet or an Appliance respectively.
We recommend having a separate CIDATA USB for each host installation meaning you will have a total of 3 CIDATA USBs. One for PodNet A, one for PodNetB and one for Appliance.
See table below for a short explanation of each CIDATA file.
If you are building a PAT, you will complete the form at https://www.cloudcix.com/wizard.html and download the files.
If you are adding Pods to an existing PAT then the PAT will generate the files for you.
meta-data |
This file will be empty. The Ubuntu autoinstallation will not work without this. |
|
user-data |
Set of instructions to run on during installation and on first boot. |
|
config.json |
Uniquely defines the Region Hardware configuration. |
|
.env |
Uniquely defines the Software configuration for the docker containers for the Pod blend. Appliance only. |
Both USBs and a keyboard are connected to the desired server. The Ubuntu USB is selected as the boot option. You will need to select “Try or Install Ubuntu Server” and, after a short wait, type “yes” and press enter when prompted. Afterwards all you need to do is wait until the CloudCIX Installer GUI appears on screen.
Prepare USB Installers
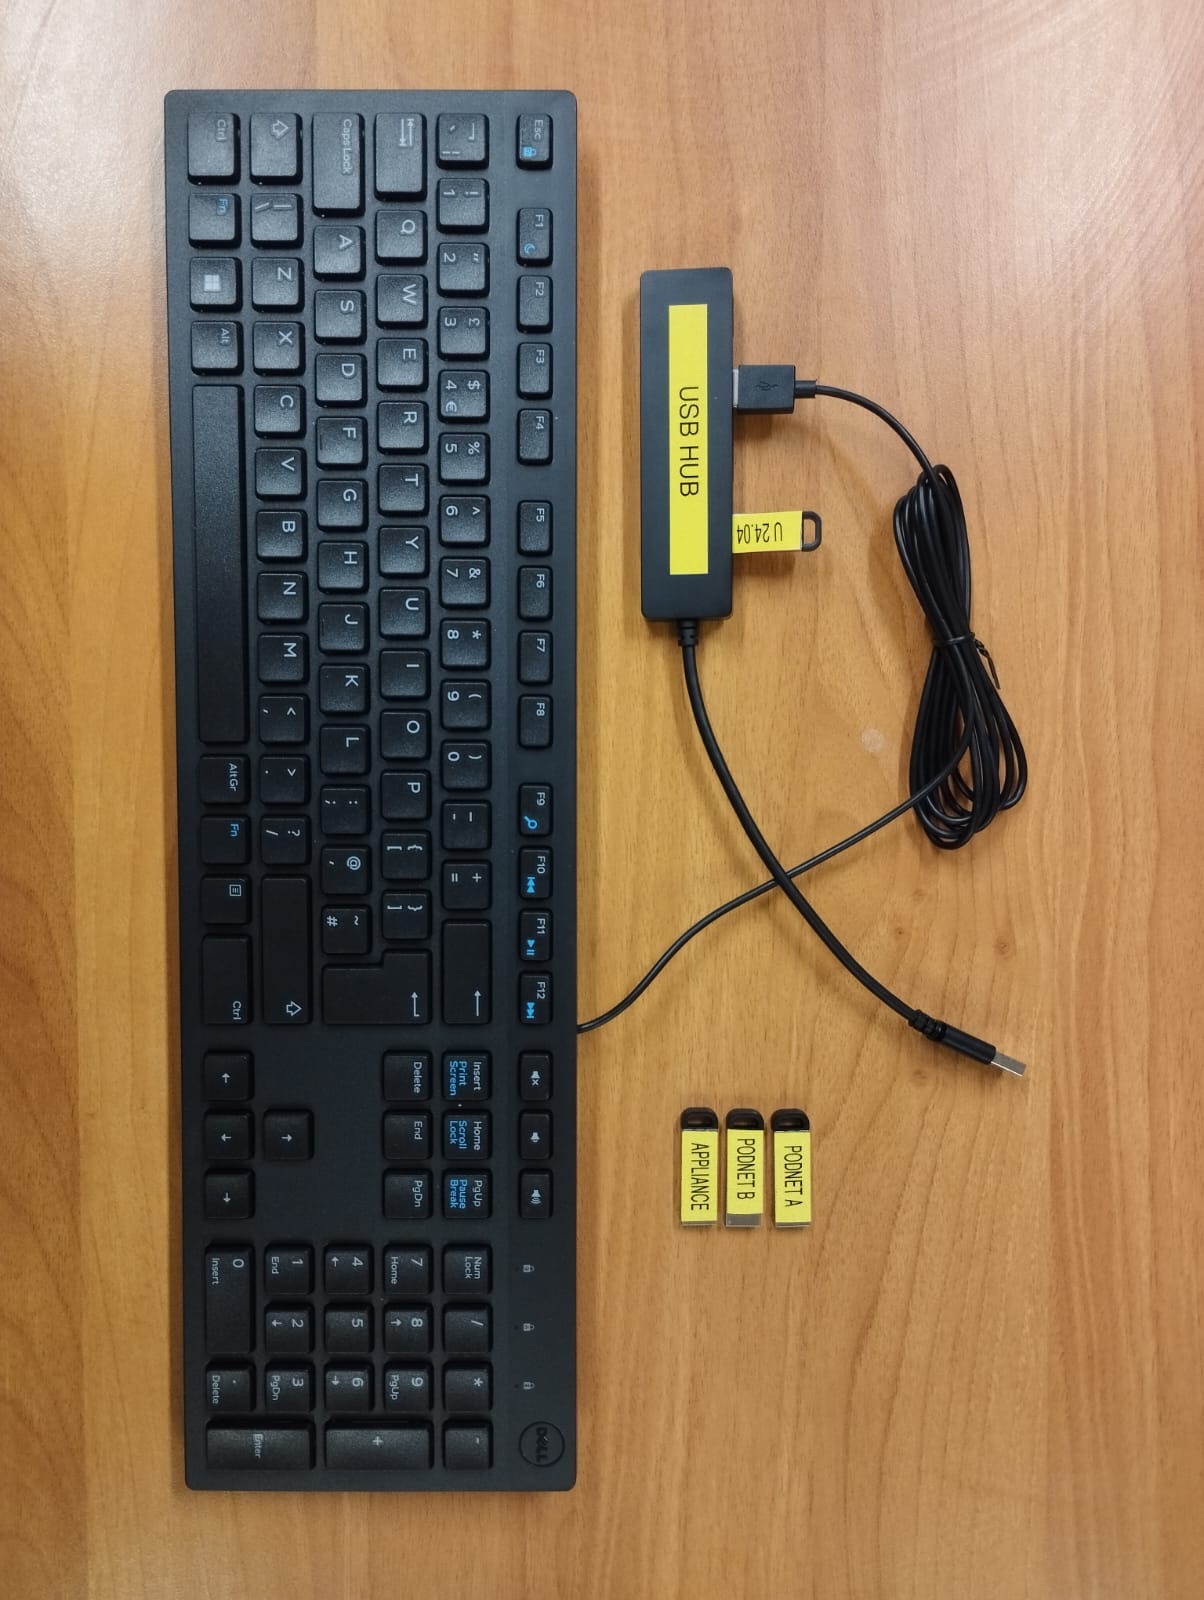
We recommend the following hardware to facilitate easy installation.
A USB Keyboard
A USB Hub
4 USB Pen Drives:
A USB Pen Drive containing the Ubuntu 24.04 Autoinstaller ISO
A USB Pen Drive containing the Podnet A ‘CIDATA’ installation files.
A USB Pen Drive containing the Podnet B ‘CIDATA’ installation files.
A USB Pen Drive containing the Appliance ‘CIDATA’ installation files.
Creating the Ubuntu 24.04 LTS Autoinstaller USB
Regardless of what blend is being installed this Ubuntu autoinstaller is used.
The following link will download Ubuntu 24.04 LTS.
It is necessary to convert the downloaded file to a bootable USB. One posible way to do this is by using Rufus on a Windows PC.
Define Networks
Every CloudCIX Pod requires external connectivity as defined in this table.
Subnet Name |
Size |
Notes |
|---|---|---|
IPv4 Link Subnet |
>= /30 |
Other IPv4 subnets are routed over this subnet. |
IPv6 Link Subnet |
>= /126 |
The IPv6 Subnet is routed over this subnet. |
IPv4 Primary Management Subnet (PMS) |
/29 |
This subnet is used for IPv4 external connectivity, to and from the Pod. |
IPv6 Subnet |
/48 |
This subnet contains all of the external IPv6 connectivity to and from the Pod. The lowest /64 of this /48 is used for management of the Pod. Except on Region Pods, the remaining IPv6 addresses are not used. On Region Pods, the remaining IPv6 addresses are made available to Projects, one /64 per Project. |
IPv4 Region Public Subnet |
>= /27 |
IPs in this subnet are assigned to projects for 1:1 inbound NAT, outbound NAT and VPN end points. This subnet is only required for Pods with a Region Flavor |
Except in the case of a PAT, you will also need a separate Internet connection for a site to site VPN connection from the adopting PAT.
Root / Administrator Passwords
A root or administrator password is required in order to install an operating system on hosts in CloudCIX. After installation of the host operating system this password is used to install the SSH keys used by Robot to build infrastructure on that host. After host installation and adoption, that password is not required for normal everyday operation but it can be useful for Level 3 support. Login to hosts can only occur from the Management Network which is secured by the PodNet firewall. So a user must be already inside the network and have the root administrator password in order to benefit.
The following policies are recommended by CloudCIX…
Choose a single root/administrator for each Pod and use that password for every host in the Pod.
Ensure the password is reasonably complex.
Share the password with the PAT Administrator and the password will be stored in the PAT application for use by Level 3 support people.