Setup Ubuntu Remote Desktop
We recommend for any new VM changing the administrator password and installing package updates and upgrades.
passwd
sudo apt update -y && sudo apt upgrade -y
Step 1: Install Desktop Environment
Install the Tasksel utility to install a desktop environment:
sudo apt install tasksel -y
Launch the Tasksel utility with the following command:
sudo tasksel
You should see the following interface after launching the Tasksel utility. Use the space bar to select “Ubuntu MATE desktop”
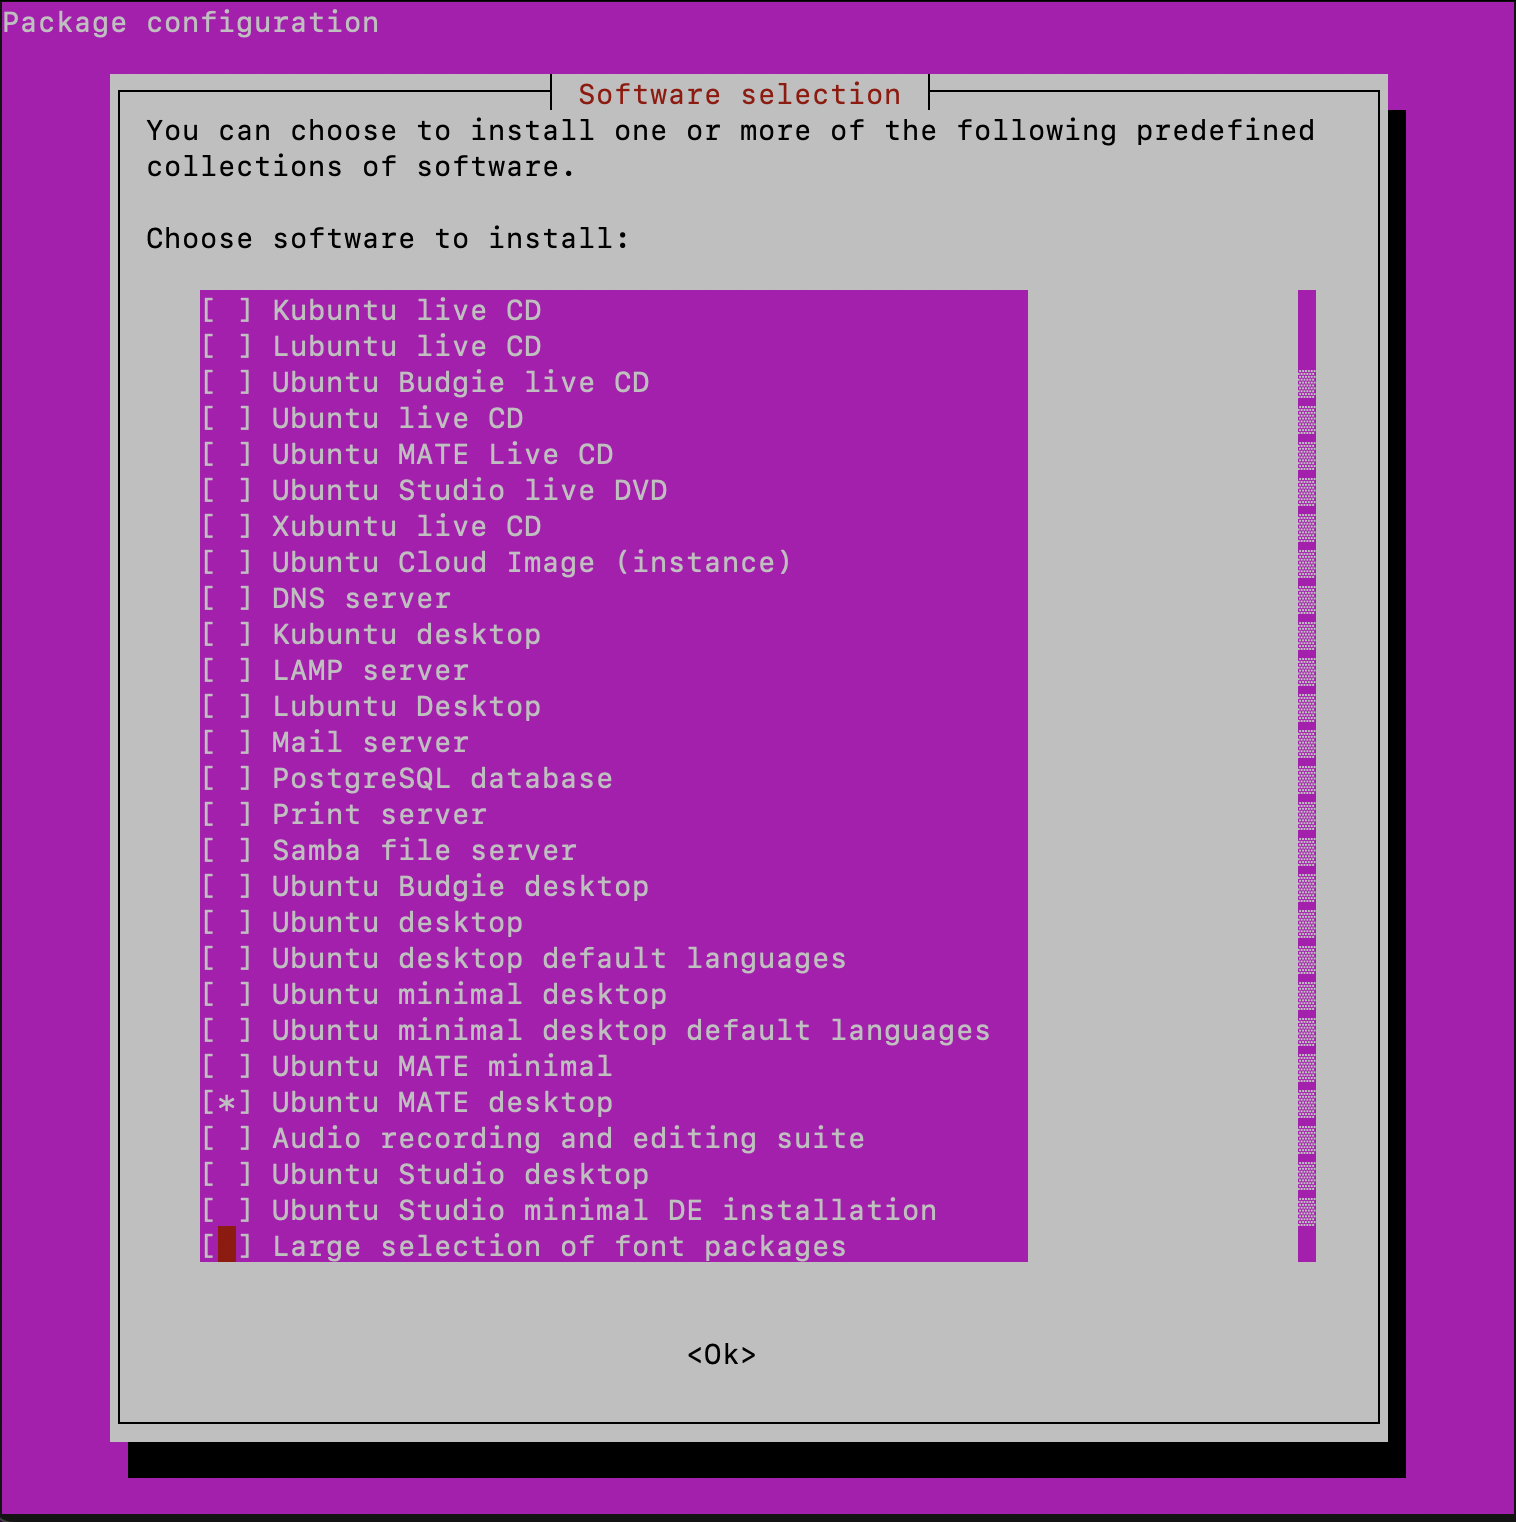
Use the arrow key to scroll down the list and find “Ubuntu MATE desktop”.
Press the Space key to select it.
Press the Tab key to select OK.
Press Enter key to install the Ubuntu MATE desktop.
Next you will need to set your system to boot into the graphical target. You can set it with the following command:
sudo systemctl set-default graphical.target
Restart your system to apply the changes.:
sudo reboot
Step 2: Install TigerVNC Server
Reconnect to VM and install the TigerVNC Server:
sudo apt install tigervnc-standalone-server -y
After installing TigerVNC, create a new user:
sudo adduser cloudcix-user
Run the following to add the new user to the sudoers group:
sudo adduser cloudcix-user sudo
Switch to the new user:
su - cloudcix-user
As user cloudcix-user, set a VNC password. Select ‘n’ for the promted question:
vncpasswd

Start the VNC server:
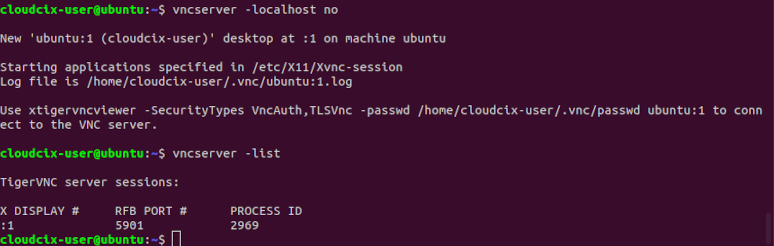
vncserver -localhost no
Verify VNC server is running:
vncserver -list
Step 3: Install VNC Client
From your local PC, you will need to install RealVNC Client
For Ubuntu PCs run the following command using the latest name for the downloaded package to complete installation. VNC Viewer will then be available to select via menu.:
sudo dpkg -i /home/path/to/Downloads/VNC-Viewer-6.22.515-Linux-x86.deb
For macOS, open downloaded package and drag to Applications when prompted. VNC Viewer will then be available in Launchpad menu.

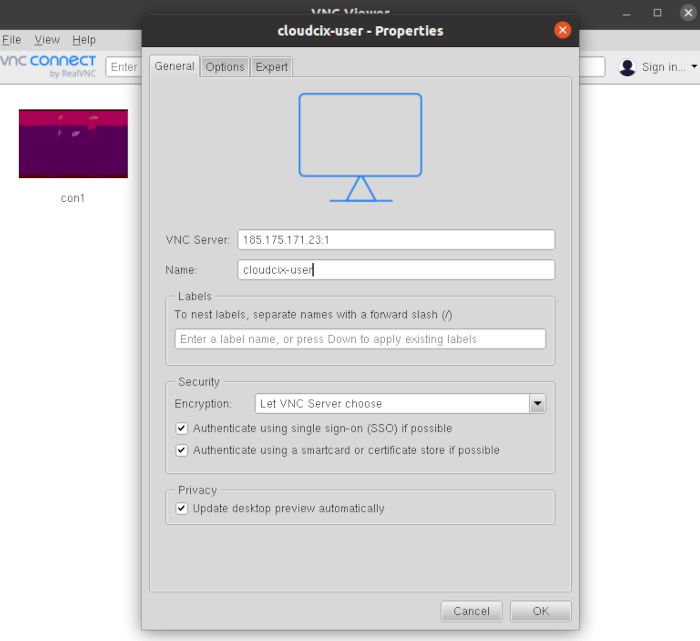
Open VNC Viewer and select File > New Connection. Input the Public IP of your VM with the port number for X Display from output to verify connection as the VNC Server and give a descriptive name for the connection,
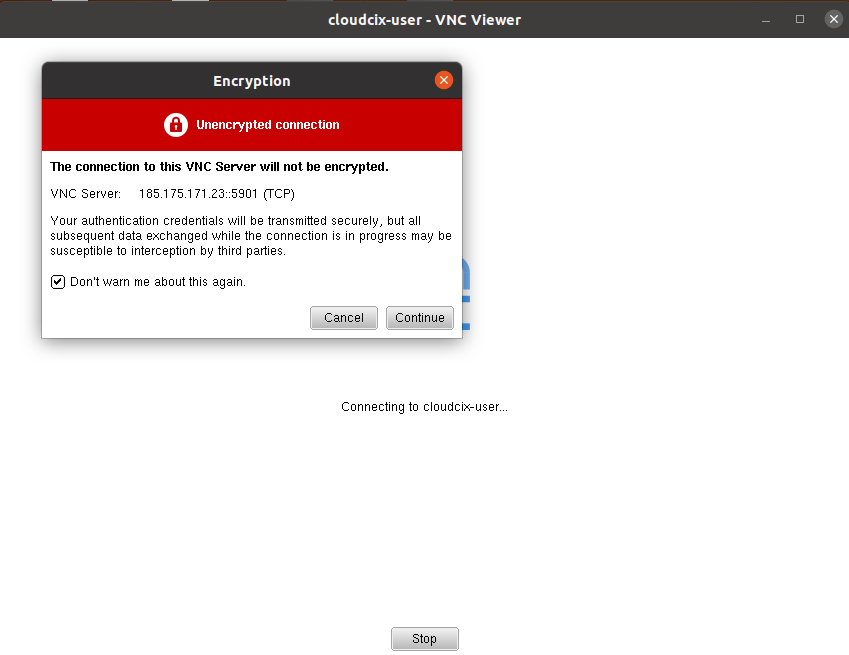
Select to open connection from VNC Viewer and Continue for Encryption warning. Input password for VNC user created in Step 2.
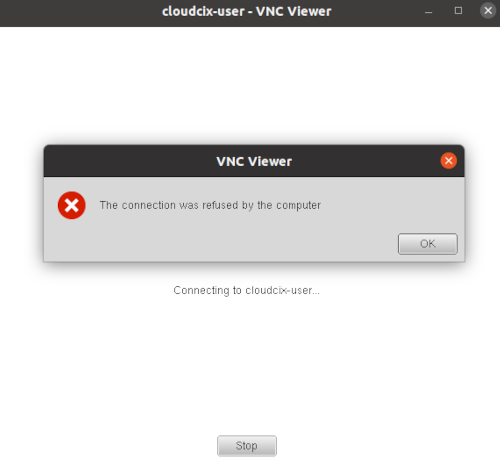
Troubleshoot Connection
Connection Refused by the computer
ssh as VNC user to VM
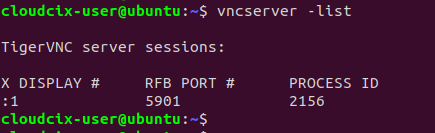
Verify VNC Server - list is empty
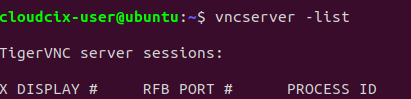
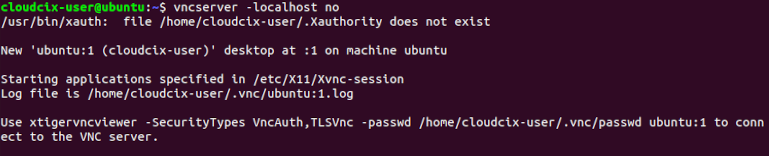
Run command to set up VNC Server and verify VNC Server is running